
Harvesting the worm compost
 ©Janet Allen
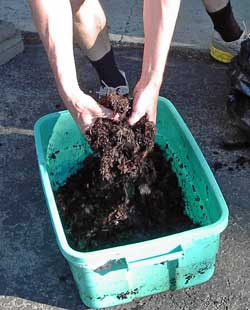
 Compost ready for harvesting
After about four to six months of adding kitchen scraps to the worm bin, a lot of what is in the bin is dark, moist and spongy. This is the worm compost (vermicompost) and it is the goal of composting with worms. This stuff is a great fertilizer. It is a major reason for worm composting.
Here are two methods of harvesting worms that we have used. Method 2 is simpler, but periodically use the first method so you can clean out the bins.
But regardless of the method, since we're in the part of the continent with invasive earthworms (See Great Lakes Worm Watch in sidebar), it's important to keep the worms, eggs, and cocoons in our house, not in our yard. We freeze the vermicompost before using it.
Method 1
 ©Janet Allen
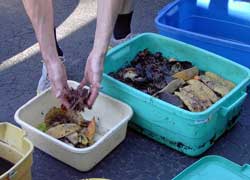
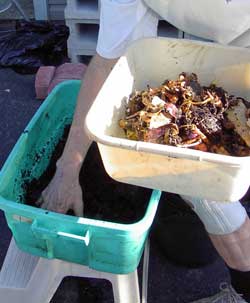
 This method of separating the worms and the compost involves several steps. First is to empty the worm bin into some other container. As I empty the bin I set aside undigested food (for example, the banana peels that have not yet disappeared) and any masses of worms I find.
 ©Janet Allen
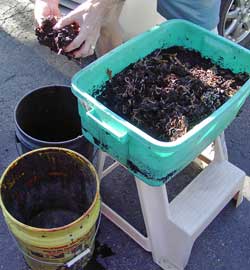
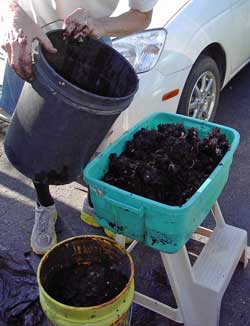
 I empty the rest of the nice dark, wet, spongy stuff (worms and compost) into a large container. I use an old driveway sealer container.
 ©Janet Allen
 I clean out the now empty worm bin and add some new bedding.
 ©Janet Allen
 I use old ground leaves.
 ©Janet Allen
 I put the undigested food and worms that I had set aside back in.
 ©Janet Allen
 I then put on top the worms and compost that had just been removed from the bin. The objective is to have the worms crawl down out of the compost and into the new bedding below (thus separating themselves from the finished compost). I leave the bin exposed to bright light (sunlight is great but indoor light works during the cold months) and wait several hours to allow the worms to migrate away from the top of the bin. I then scoop the top of the compost they leave behind into a container (another old driveway sealer container). When I start to find lots of worms as I am scooping out the compost, I wait a while for those worms to continue migrating down. I keep doing this until I am close to the top of the new bedding.
I then mix up everything that remains, shake the bin to level it, add some new food scraps, cover the surface with a piece of black plastic and I am done harvesting the vermicompost. I now have most of the worms in the worm bin with new food and bedding and much of the compost in a container ready to be taken out to the garden and used.
I don't have any qualms about getting worms on my hands in this process. But using rubber gloves does keep your fingernails clean.
Method 2
After about four to six months of adding kitchen scraps to the worm bin, a lot of what is in the bin is dark, moist and spongy—the worm compost. Remove the black plastic sheet and expose the bin to light—since I am working in a dark cellar I use a lamp. The worms will head down, away from the light. Come back after a few hours and gently scrap off the top ¾ to 1 inch of worm castings, putting that material into a container. Repeat this several times a day until you have removed much of the material in the container or it seems the worms have no place left to go. Add some fresh moist bedding and some food scraps, put on the black plastic sheet and you are done, except for taking the worm compost out to your garden.